Arwen’s Battle Dress, Lord of the Rings, The Two Towers, cut scenes


By Leaves of Lorian
High Quality Replica, Custom and Cosplay Costuming
"Not Idly do the Leaves of Lorain Fall...."
I’ll be honest - the battle dress wasn’t instant heart stopping, jaw dropping, oh-my-word-gotta-have-that-dress-dress the first time I saw it.
But the more I looked at that pretty velvet and silk combination, the more I studied the way the triple set of sleeves worked, the more I watched that split skirt move, the more I researched and found out about the cut scenes in LORT, I fell in love. Head over heals. My boyfriend is jealous.
So the answer was simple - it’s gotta be made!

The answer was simple. The process, eh, not so much.
I began with serious research - and I mean research…butt loads of it! I googled Arwen’s battle dress (also try battle outfit) a billion times, followed links and collected pictures. A LOT of pictures!!
Allycatscratch.com was AMAZING for all their work!! Thank you guys soo much!! :D
I read and reread their breakdown on the battle dress, then started analyzing my own collection of pictures…

Arwen’s battle dress is worn in the cut scenes from LORT, TTT, where Arwen was supposed to go to Helms Deep with Haldir, and fight in the battle there. The dress had to be designed with freedom of movement in mind, as well as flattery of figure (Who would want Arwen to look bad??), also keeping in mind this is Middle Earth, and an elvish design. Also, I’ve noticed the costume depart. for LOTR often uses very similar patterns and stitch designs on the costumes.
Arwen’s battle dress, like most of her dresses, is two parts - an underdress and an overdress, or in this case, what we called a ‘coat’ and a belt. Liv also wears maroon or plum colored breaches or leggings and either dark brown or black boots. It seems logical that she might wear the same boots as in the chase sequence.

See the two layers here??

You can see a bit of her leggings here

these are a replica of her boots.
The underdress appears to be a silk or light woven material. The color varies in the photos, but it appears to be a dusty rose or pinkish purple. Some photos it almost looks like a very light lavender.
It has two sets of sleeves - an tight, inner sleeve and a over sleeve which is a petal shape. The over sleeve is lined with a deep lavender color that is embroidered in gold, complementing not contrasting.

The inner sleeve will be covered by vambraces, which according to the original storyline would have been of Rohrim design, as they were barrowed at Helms Deep. I have vambraces from my Legolas Garb (See separate blog), so I won’t be making those. The sleeve reaches about to mid palm when the arm is down. It’s not extremely tight.

The over sleeve is very interesting. It is a petal sleeve. The sew seam is along the top of the arm, down to a few inches above the elbow. It then falls gracefully into a rounded petal shape. The ‘petal’ is lined with the completing violet silk, and embroidered in gold. I took a good long look at the patterns on it, and it’s mainly flowers and leaves. A few things closely resembling butterflies. My sleeves will have a mixture of flowers, dragonflies, and vineythings.


The underdress itself flows nicely under the coat, and seems to be a lighter material. It’s split front and back for ease of movement (and it really does work!) like the Chase dress.


Chase Dress ` Battle Dress
See the similarities??
I don’t know if it splits in the front or back to get into it. Mine will be entered by the back. It’s probably shaped around the waist, since most of Arwen’s dresses and underdresses are. The skirt appears to be fairly full. It ends a few inches above the top of the boots and does not appear to be shaped. Mine will end about at my ankles.

The overdress, or ‘Coat’ as we call it, is clearly made of a deep burgundy velvet. It flows beautifully, falls wonderfully and looks awesome. It think it really sells the whole outfit.
It falls to a few inches above her ankles so that the underdress shows, and the hem is shaped. It’s definitely longer on the sides, and rounded in the front and back.
The front is open, but buttoned shut at the top, from about the natural waist to the neck seam. It falls open the rest of the way. The back is split a few inches above where the underdress is split.

The buttons are small, rectangle and definitely gold.

The loops and buttons are sewn into the front seam, over small flaps. These flaps (one is thinner then the other) lay flat on the chest under the buttons, giving the illusion that the fabric meets perfectly in the middle.


The arm holes are a bit bigger due to necessary movements, and the fact you have two sleeves to get through there. The sleeves are actually NOT sewn into the arm holes.

The sleeves are long, and fall to about mid or upper calf. They are petal shaped, and sewn into the neck seem. They fall over the shoulder and down the back and are tacked to stay.
The collar stand up, is self lined or piped - I’m not sure which because the pictures are all blurry or too far away - and is sewn into the shoulders.


So the search begins… TO FIND THE PATERN
(Perhaps I should call it a quest ;)
It started with a pattern. Obviously, I couldn’t really ask anyone who’d seen it about the dress, so I did the best I could….actually, I’m the type who’s all for figuring out the pattern in your head and then just doing it (it usually works!)..but my mom was the voice of reason and counseled for a pattern.
For the underdress, I used Butterick pattern B4827 for the dress and first set of sleeves (under sleeves).

The next set of sleeves (the over sleeves) presented a problem…To have a sew seam on top and a nice petal shape, big enough to fit over the under sleeve, able to fit in the arm hole, and to have it all be one piece!
My mom and I cobbled together a sleeve out of two different patterns and some improv work.
We used to top of Butterick pattern B4571 sleeve (it’s a three piece sleeve so beware!) to form the actual part of the sleeve we needed to fit the arm hole of the B4827 pattern. We then attached Simplicity pattern 9887 sleeve to it. It’s a huge sleeve, and we just used part of it to get the sleeve shaped roughly correct. I then ended up shaping the sleeve by hand, and we used the first sleeve we cut out as a pattern to cut the rest.


For the Coat, I used Butterick pattern B4954 for the shape and general pattern of the coat. I reused Butterick pattern B4827, but only for length. For the sleeves I used Simplicity pattern 2573.


And then it was on to the fabric store!!
FINDING THE Material
Allycatscratch reported the Battle dress to be made out of velvet for the overdress and silk for the underdress. I agree, but after looking at silk for a while, I decided I wanted something more substantial yet still light for my dress.
I ended up with a beautiful rose colored light weave material that’s absolutely gorgeous. It comes out really pink on camera, but it’s really a nice color for the underdress. It floats well and yet is hardier then silk.
For the lining of the over sleeve, I went with a lovely satin of violet. It matched my other material well and was easy to sew on for embroidering. Arwen’s dress sleeves appear to be made out of the same material as her underdress, but I like mine.
But when it came to the coat, I had my heart set on velvet. It had to be velvet - burgundy velvet. Its really a gorgeous color (Padme’s battle dress from Episode I is the same color), and I am in LOVE with the feel and flow of velvet…so velvet it was, and burgundy.
So now I have my material, and I am
READY SET GO!
The undersdress
Cutting out the underdress came first. It fairly easy. The B4827 pattern is a really nice pattern (Only don’t take up the bust area before putting in the sleeves!) and my mom and I had made several dresses from it before. We pinned the pattern up to me and had to shorten it somewhat and take off the train. We also made it not quite as full as normal.
That was simple to cut out, and went quick. B4827 is designed to have lacing, and I wanted to have the dress lace up the back, but my mom pointed out that it might be uncomfortable under the coat, so we opted for a zipper, and therefore we didn’t have to cut out a few pieces for the dress, which made it simpler.
The hard part came when we cut out the over sleeve. As mentioned, we cobbled together something, and then had to improv the rest. It did turn out very, very nice, but it was messy at first since didn’t quite know what we were doing… :P The shape ended up looking something like the Millennium Falcon!
We cut the lining at the same time, and I took those pieces and started embroidering.

It took me 42 hours to embroider the lining. Yes, granted, I get very particular about how to do something, but still… :P They look awesome though, and I don’t regret it.
I drew patterns before hand, but mostly ended up free handing with my embroidery.


When I did get those done, I was finally ready to sew on my dress!
It was pretty easy to sew, and went fairly quickly. The back of the pattern is two pieces, so it was easy to just leave the back split in as I sewed it. I put in the zipper and then mom came to help me with the sleeves..


The first set of sleeves were nice and easy. I hemmed them up and then sewed the lining to the outside of the over sleeves and turned it. Mom pressed them for me. Thank you Mommy!! :) That was the easy part.


I also took time at this point to try the sleeves on my head…they made a great hat! Just sayin’. (Hey, it looked like a hat!!)
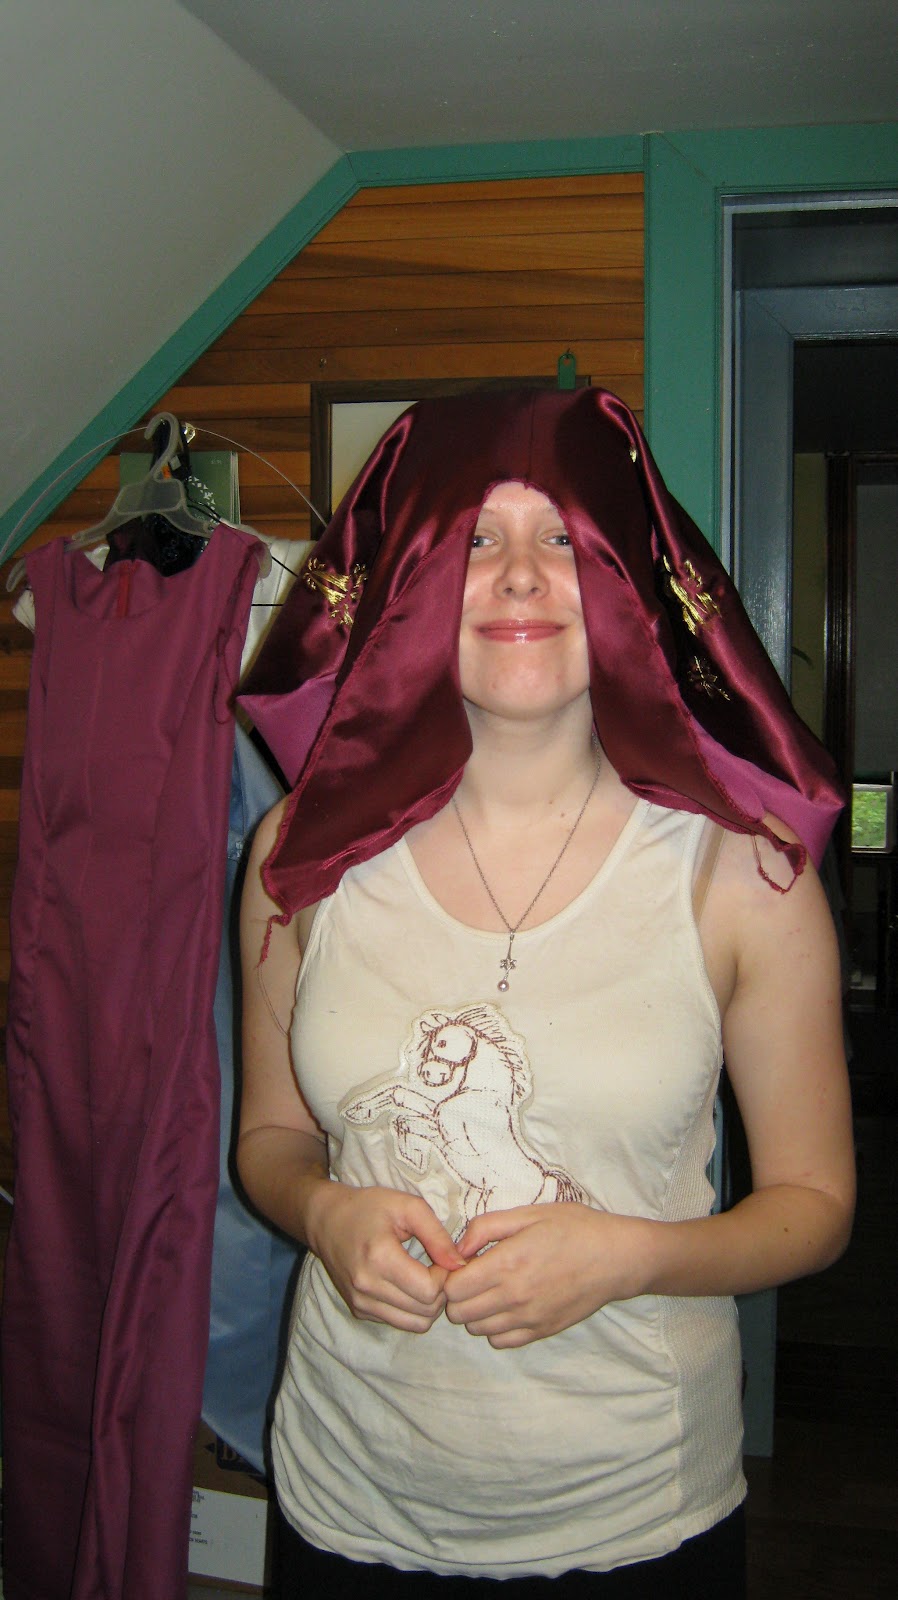

My brother didn’t think they made such great hats apparently…
Mom pinned up the sleeves to me and we proceeded to play with the over sleeves until we got then to overlap and slip the way I wanted them to (we didn‘t quite have enough fabric, so be sure to cut the outside of the over sleeve just a little bit wider). She pinned them and we sewed them up, then basted the three layers of material together and sewed them into the arm hole.


It’s a little tight, but I think that’s due to the three layers in the seam, and it doesn’t inhibit my mobility very much. I wouldn’t recommend playing base ball, but fighting orcs? Heck, yeah!
After we got the sleeves in, I put the dress on and mom played with the hem for a while to get it even. It was surprisingly even to begin with, and we were please because we had shortened it from the original pattern.
Once she got it even, we split the front. The split goes about five inches below my crotch. The split in the back is about five inches below my butt (I really don’t think that needs to be shown!) It’s about even, actually, maybe a inch or so higher in the front.
The split in the front got a little wide because we didn’t have any extra material to work with there, but it’s not more then an inch wide at the very most, so I’m happy. And I’m not really sure what we could have done to fix that anyhow. The back was nice because it was two pieces, so we already had some overlap.
We hemmed that up and voila! I have an underdress!! :)


The Coat
The coat was very difficult. My mom again joined me for this one, and we ended up putting three patterns together again!
Upon reflection, we might have found a better pattern if we REALLY looked, but we had Butterick pattern B4954 and it fit well for the splits and buttons and collar. It’s a Victorian outfit and really beautiful in itself (I’ve made it).
We cut the collar a bit shorter around and didn’t use the sleeves. We also cut the front down because the pattern overlaps and I didn’t want that. We cut the front straight down.
The original pattern has a ‘butt flap’ thing, which looks really cool, but we didn’t want for this coat, so we cut the back straight down.
The sides we followed and flared as in the original pattern. REPEAT! The only part of the coat that flares IS THE SIDE PIECES!!
Because the original coat in B4954 ends at about mid thigh, we ’reused’ Butterick pattern B4827 since the two are very similar, (they don’t match exactly) but only for length. We laid it down on top of the 4954 pattern and then cut the fabric to length and removed it.
For the front lining flap things for the buttons, we used the little bit of the front that we had cut off and cut one double wide for the longer flap and one normal for the smaller flap. It’s about two inches wide at most.
For the sleeves we used Simplicity pattern 2573. It’s a very cool pattern and for reference, we used the bottom part of the sleeves on dress A, I believe. It’s a huge sleeve, and in order to make it the right size, we cut the pattern in half and cut the sleeve on a fold. I ended up with a beautiful rounded shape like I wanted, but with out being HUGE!

Once we had the cutting (and hair pulling!) out of the way, I sat down and had to think about sewing it all together. Unfortunately, I can only go so far until I find the right buttons.
For now, I sewed up sides, front and back of the coat. The ‘flaps’ in front, the sleeves and collar all have to wait for those buttons….
So it was off to the store again! Sure, I knew exactly what I wanted. Does that mean they have it? Nope!
Arwen’s coat had golden buttons, approx. ¾ of an inch long, and they are rectangular. All the buttons I could find were way to long. I don’t want any thing over an inch maximum, or it will totally overwhelm the front of my coat. I also have to find the right color gold to go with my sleeve embroidery (who knew there were so many shades of gold?!)
After a long an arduous adventure, I finally found the right ‘buttons’. They’re bead spacers, I found them in the jewelry isle. They are the right size, shape, color and even have a design on them that looks elvish or leafish.


But attaching them to the coat? That’s an adventure in and of itself!
The original design probably was something like loops and buttons. I’m not entirely sure because the pictures are not clear enough to tell.
We decided try loops, but after carefully considering and mocking up a button, my mom and I decided …
Not to use loops.
They’re just to bulky for the ‘buttons’ I have, and weren’t working. Button holes were out too, because my machine can’t sew button holes on velvet. Blick.
So after a long time of considering, we decided to use hook and eyes on the flaps, and have the buttons on the top for show only. (I suggested magnets during out brainstorming and we decided the fashion world wasn’t quite ready for that yet. He he)
So now I have my buttons and my way of closing my coat…and now we get to sew in the collar (my mom really wanted to help with this part - how awesome!!)
We pined the sleeves into the neck seem, and adjusted them to fall correctly. They meet in the back, and fall across my shoulders. It’s really pretty cool - and FUN to wear!! Then we pinned the collar in over them and I tried it on again (I’m pretty sure the collar turned vampire at that point! Ouch!!)
It took us a bit to adjust get the sleeves to fall right with the collar in place. We based it, then I tried it on again to be sure nothing had moved. Then sewed it up.
And it looks really nice!


After we got eh collar in, we tried to sew on the hook and eyes…discovering to our horror, it just wouldn’t work with hook and eyes…so we brainstormed again…
And moved on to the next thing.
Snap tape!

I picked up a yard of black snap tape and we sewed that on. It actually worked!! (YAE!) and we sewed on the buttons, about two thirds of an inch apart. It looks REALY nice.
We ended up putting the snap tape all the way down the flaps on the front of the coat and then sewing the ‘buttons’ on over top of that. They were tricky as they had to be sewn so as to look like they actually fitted across both flaps.


You can see the difference in lighting in these shots. Also, you’ll note you can see the snap tape from the one on the right and how that works.
We took the sides in a bit to fit my shape better and did the belt
I used the belt from the buttrick 4827 pattern (underdress). It was a bit long for me, but that was easy to fix.
I use bright gold leaf toggles for the buckle. An actual buckle would be nicer, but I could find one to fit my taste….

The hem was a bit hard. My mom helped me again, because it’s hard to see where to hem something to when you’re wearing it!!
The hem is rounded, longer on the sides. The underdress shows all the way around. (helps keep the martial clean and works better for running or spinning suddenly)
We helmed the sides so about an inch of the underdress showed, and rounded it up to about three inches on the front and back.


And then it was Fin!!!
(Finally!!)
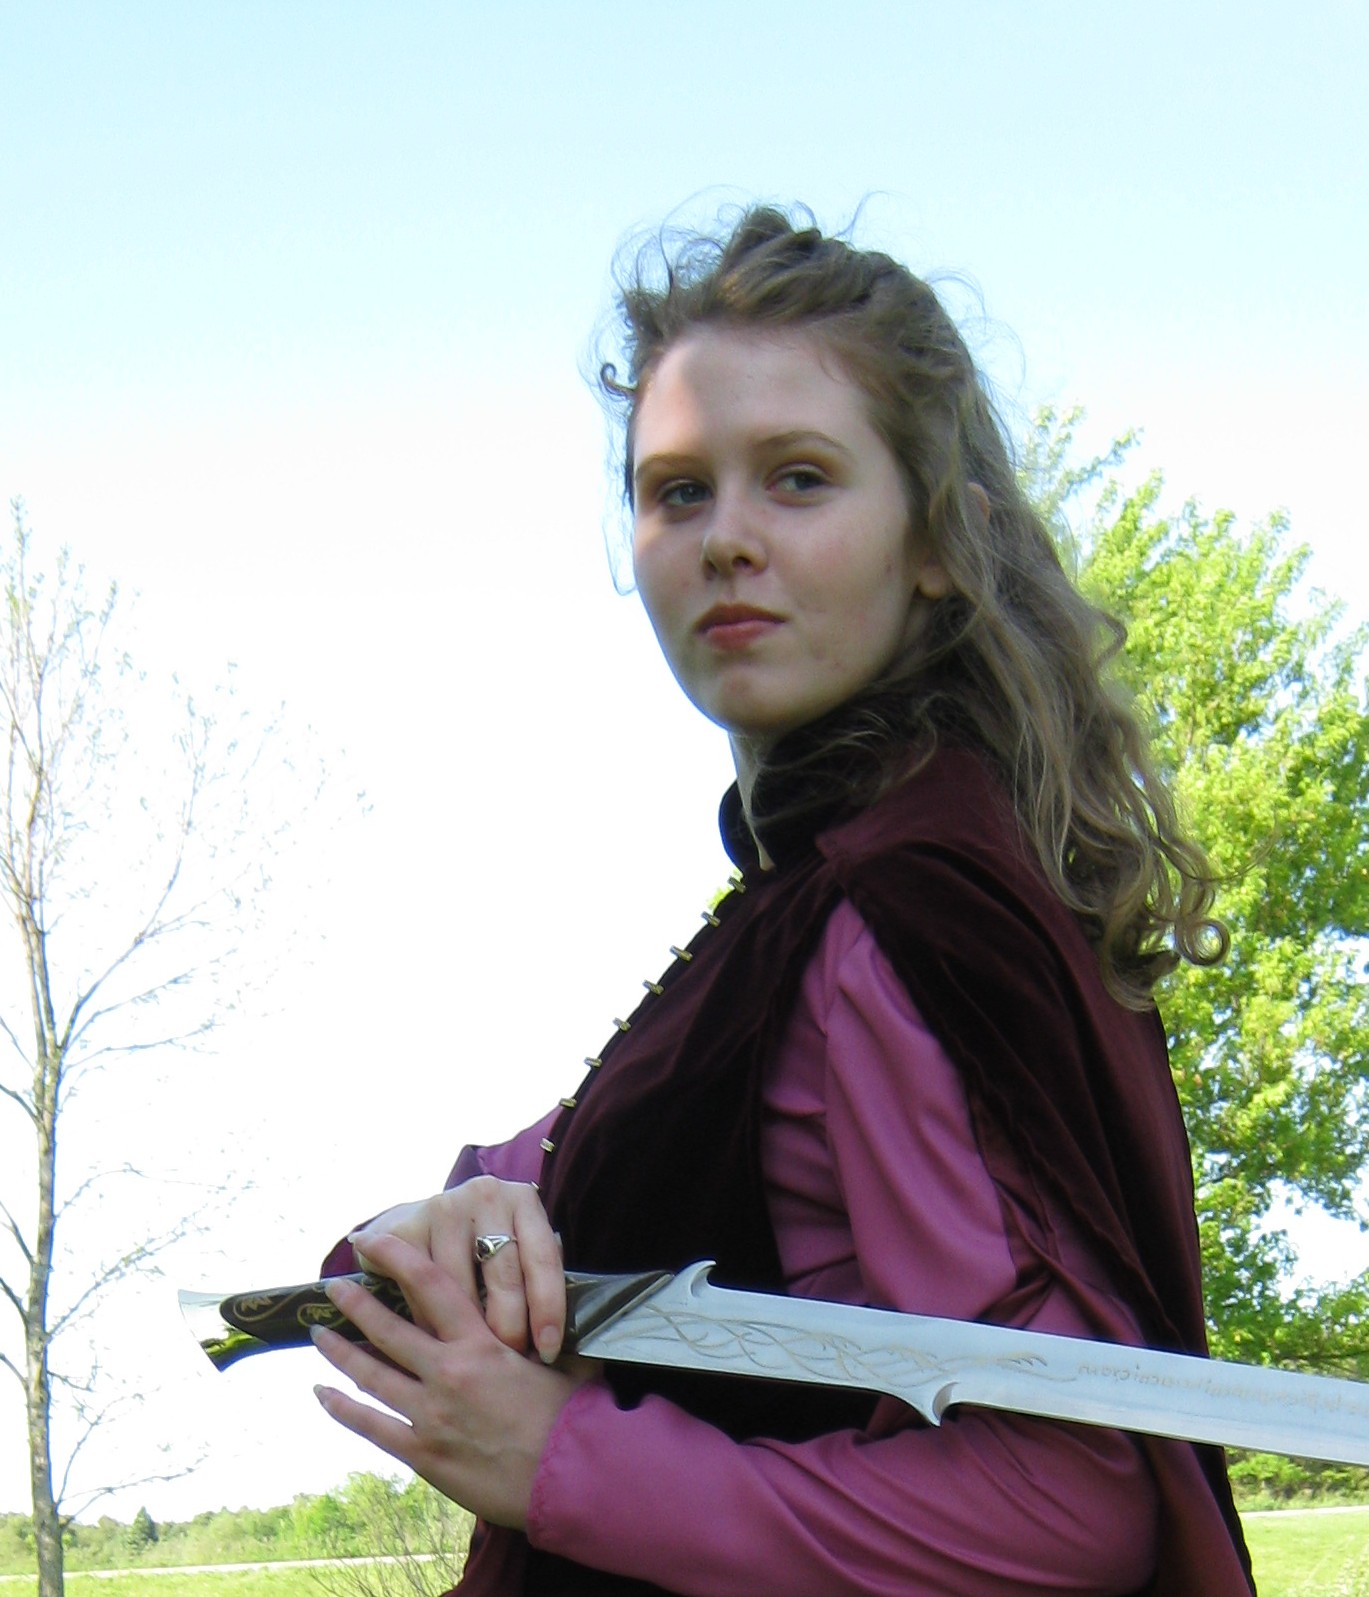
And I had a BLAST spinning around the front yard!! My brother has promised to get up in his Gimli Garb and we’ll do a photo shoot sometime soon….
(promise to post some photos!!)


Original dress….


My dress…


Namárië! Nai hiruvalyë Valimar.
Nai elyë hiruva.
Namárië!!
Nai truanted ar varyuvantel i Valar tielyanna nu vilya!!
Namárië!!
Please feel free to contact me with any questions or comments!! :)